Articles are currently available in English.
Nutrition
Canned Beans: Drain, Rinse or Keep the Liquid?
By Sweat & Snack Editorial Team · 2026-10-14
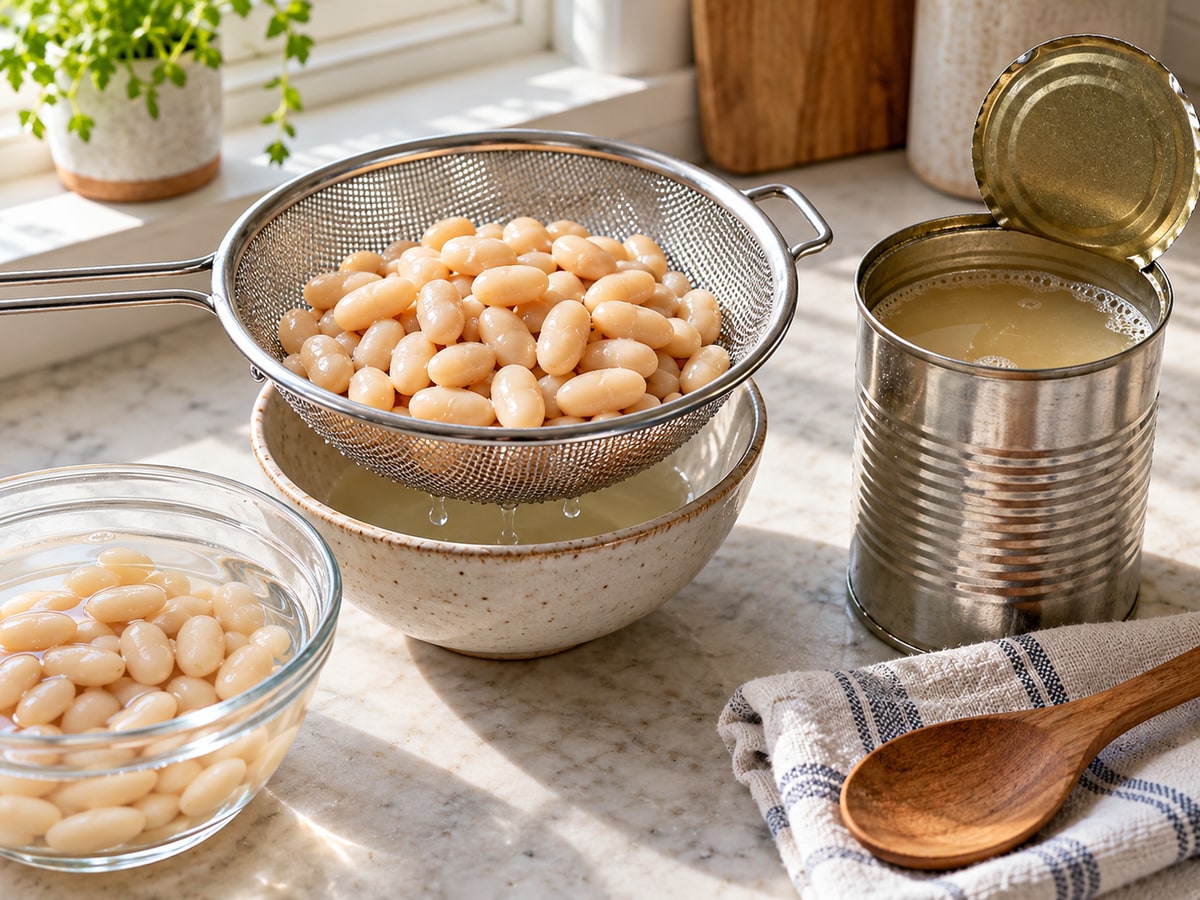
An opened can of beans presents a small but useful choice: drain it, rinse it, or keep some of the liquid. There is no single rule that suits every recipe. Start with the texture and liquid the dish needs, then check the can label. This guide offers a practical kitchen decision, not a claim that one method makes every meal healthier.
Use the recipe as the first clue
If beans are going into a salad, grain bowl, toast topping or a filling where you want distinct beans, drain them first. A brief rinse is a practical option when you do not want the can liquid changing the seasoning or making the final dish loose. USDA recipe guidance specifically advises draining and rinsing canned beans before adding them to recipes to reduce sodium.
For a soup, stew or sauce, pause before rinsing automatically. Ask whether the recipe already includes enough liquid. If it does, drain the beans so the recipe stays closer to its intended consistency. If a recipe specifically calls for bean liquid, reserve it in a separate cup, then add only the amount the recipe needs. That is more controllable than pouring the whole can into a pan.
Three quick choices
Drain
Drain when a recipe needs firm, separate beans or when you are using a dressing, yoghurt, tomato sauce or stock that already supplies moisture. Let the beans sit in a sieve for a moment rather than shaking them into a dry pan. This is a texture suggestion, not a food-safety rule.
Drain and rinse
Rinse when you want a cleaner flavour, want to reduce the can liquid in the dish, or are following a recipe that asks for it. Rinsing is especially useful before a chilled salad or a fork-mashed topping such as our white-bean toast, where extra liquid can make the mixture harder to pile onto bread.
Keep some liquid
Keep it only when the recipe gives it a job: for example, a small measured addition to a bean-based soup or sauce. Taste and thickness matter more than a fixed spoonful. Do not assume the liquid can replace stock, water or a thickener in an unrelated recipe. Try adding a little, stir, then decide whether the dish needs more.
Check the label before choosing a can
Canned beans are ready to use, and the Nutrition Facts label helps you compare products. Look at the serving size before comparing sodium values, because a number only makes sense next to its stated serving. If lower sodium matters for your plan, choose a low-sodium or no-salt-added option where available, then season the recipe deliberately. Avoid guessing that every rinse changes the label value by the same amount.
For a meal you plan to pack, use the finished dish rather than the can as your starting point. Our no-fridge snack guide covers a different question: choosing a shelf-stable item before you leave home. Opened beans belong in the refrigerator, not in a bag for the afternoon.
A small counter routine
- Read the ingredient list in the recipe for “drained,” “rinsed,” or a stated amount of liquid.
- Place a bowl beneath the sieve if you may need to reserve liquid.
- Drain first, then decide whether the beans need a gentle rinse.
- Add liquid in measured amounts only when the recipe benefits from it.
- Refrigerate leftover beans promptly in a covered container.
This keeps the decision visible and repeatable. If the dish turns too loose, make a note for the next time: drain longer, rinse, or use less reserved liquid. A small adjustment is usually more useful than trying to force every can into the same rule.
Sources
USDA Foods: canned beans recipe guidance
Mississippi State University Extension: Beans
FDA: Nutrition Facts label