Yoga
Chair Yoga for Beginners: A Simple No-Floor Practice
By Sweat & Snack Editorial Team · 2026-10-08
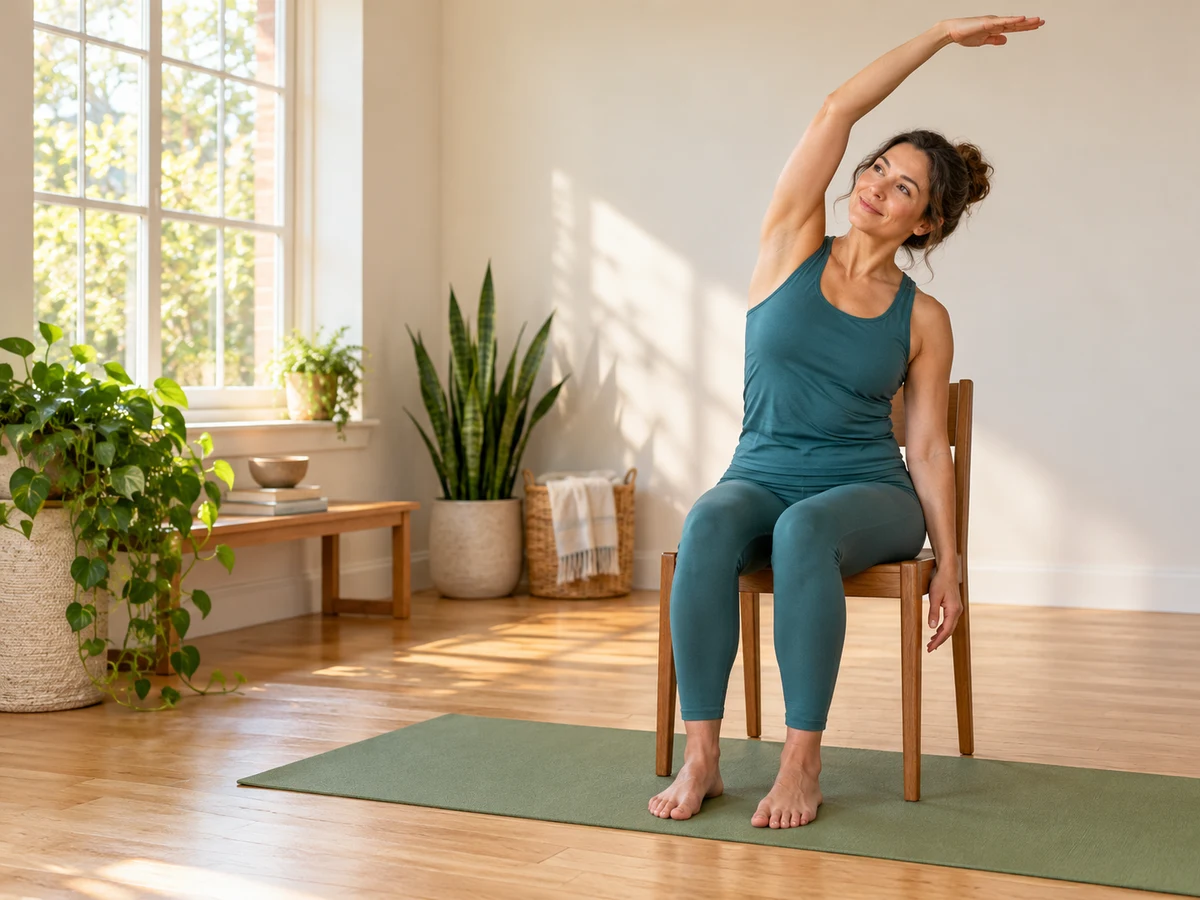
Chair yoga offers a way to explore a seated practice without getting down onto a mat. Start with a stable chair, keep your feet supported, and choose small movements that feel comfortable. The short outline below is an original practice suggestion: you can do less, pause often or skip a movement entirely.
This guide focuses on the practical question “How can I start without floor work?” It is different from our morning yoga practice plan, which includes choices for a broader session. If your main goal is an office movement break, see the desk mobility routine instead.
Set up a chair you can trust
The NHS sitting-exercise guide recommends a solid chair without wheels. Choose a seat that lets your feet rest flat and your knees bend comfortably; an armless design gives your arms room to move. Test the chair before starting. Avoid folding chairs that wobble, swivel seats and slippery cushions.
For this suggested setup, clear enough room beside the chair to move your arms without hitting a desk or wall. If you use a mat, check that it lies flat and the chair stays steady on it. Blocks and straps in our photograph are optional props, not required equipment. A plain chair and clear space are enough for this outline.
Decide whether this practice suits you
NCCIH yoga guidance recommends qualified instruction and explains that some health conditions call for modified poses. A chair does not make every movement appropriate for every person. Discuss individual needs with your health professional and instructor if you are pregnant, have an injury, a balance concern or a condition that affects exercise.
Skip forceful breathing, demanding poses and attempts to reach a particular shape. Use your normal, unforced breathing. Stop if you feel pain, dizziness or unwell, and seek suitable advice rather than using a blog routine to address symptoms. A qualified instructor can help you choose a seated class and adjust movements for your circumstances.
A simple seated practice outline
Treat these steps as a menu. Try one or two first; repeat only while the chair is steady and movement remains comfortable. The order and duration are suggestions, not a medically tested protocol. There is no required depth, repetition count or minimum session length.
1. Arrive in a comfortable seated position
Sit with your feet supported and hands resting on your thighs. Let your shoulders settle. Take a few ordinary breaths and notice how the chair feels. If sitting away from the backrest is tiring, use its support. This opening is simply a chance to check your setup before adding movement.
2. Explore a small chest opening
The NHS guide includes a seated chest stretch. For a gentle practice option, sit comfortably and bring your shoulders a little back and down. Let your arms open only as far as the space and your comfort allow. Return to your starting position slowly. Keep the movement modest; do not force your chest upward or pull on the chair.
3. Try a comfortable upper-body turn
The NHS also describes an upper-body twist while the feet and hips stay still. Try a small turn to one side and return to the middle before exploring the other. Keep your hands somewhere easy, such as your shoulders or thighs. Avoid using the chair back as a lever. Skip this step if turning is unsuitable for you.
4. Pause and reset
Place both hands back on your thighs. Check your feet, chair and breathing again. You can repeat a comfortable movement or finish here. The pause is part of the practice, rather than a sign that you need to work harder. If you want more variety, ask an instructor to demonstrate appropriate seated options.
Make a short session work in real life
As a planning suggestion, set aside about five minutes for setup, a few movements and a quiet finish. If that feels rushed, do less. If you enjoy a longer practice, add time gradually instead of adding deeper stretches. Use the weekly planner to attach the session to a familiar cue, such as a break between tasks.
Try writing down the chair you used, which steps felt comfortable and anything you chose to skip. Next time, start from that note instead of searching for a harder routine. This makes the plan repeatable without treating flexibility, appearance or time spent as a score.
Common questions before you begin
Is chair yoga only for older adults?
This outline is organized around seated access rather than an age group. Someone may prefer a chair because of space, comfort or a dislike of floor transitions. Suitability depends on the individual and the movements, so an age label is not enough to decide.
Can I use an office chair?
Choose a stable chair without wheels for this practice. If your available office seat rolls or swivels, use a different chair rather than trying to hold it in place with your feet. You can save the guide until a suitable setup is available.
Does this replace a complete exercise plan?
This is one small practice option, not a complete weekly program. Browse our exercise basics for broader planning context and choose activities appropriate for you. Do not expect a short seated session to deliver a guaranteed health or weight-loss result.
Sources and editorial notes
Chair setup and the two movement examples were checked against NHS sitting exercises. Yoga precautions were checked against NCCIH Yoga: Effectiveness and Safety on 8 October 2026. The session outline, planning ideas and pauses are original practical suggestions from Sweat & Snack. The feature and Pin images are AI-assisted original photographs of a practice setup, not demonstrations of a pose.
General educational information; individual exercise needs vary.