Articles are currently available in English.
Yoga
Intermediate Yoga Transitions: Slow the In-Between
By Sweat & Snack · 2026-10-24
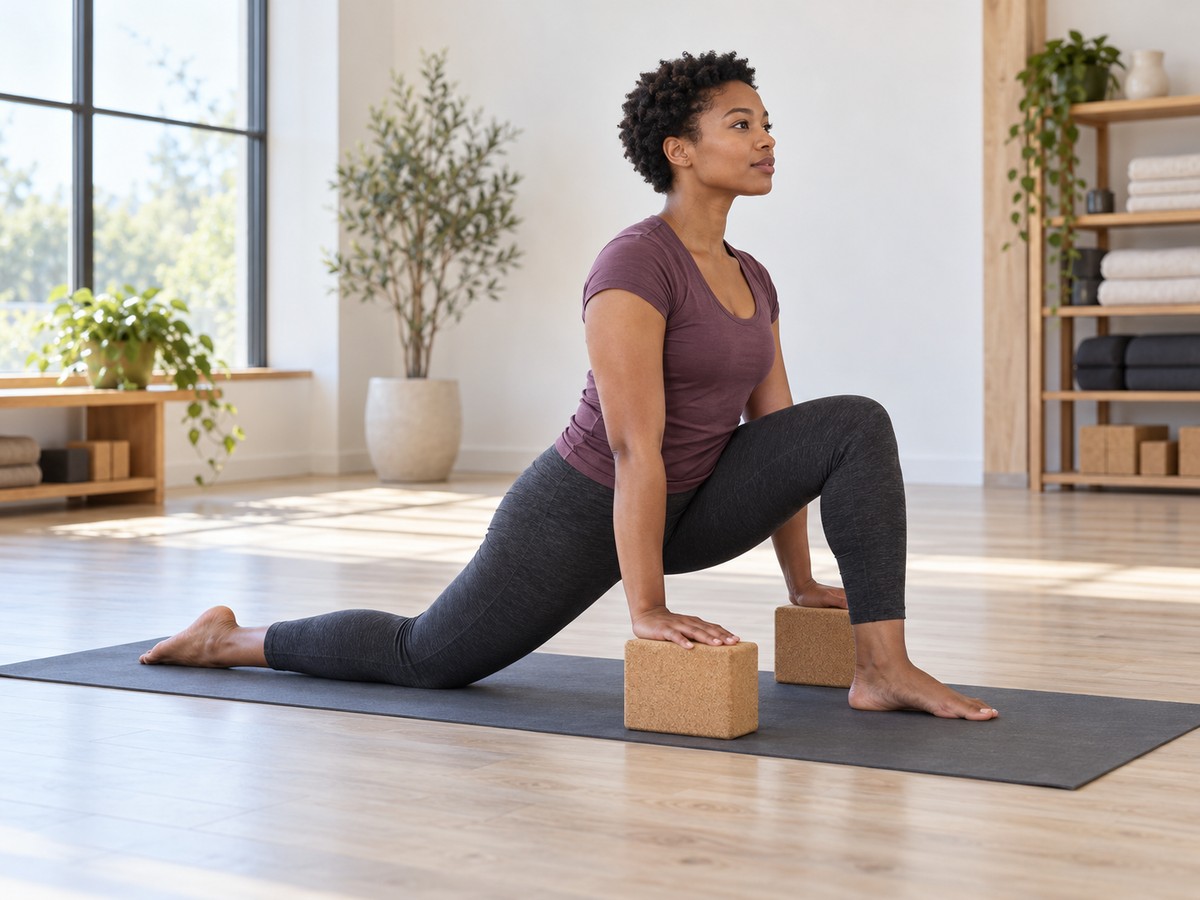
Intermediate yoga is often less about adding harder poses and more about making the transitions cleaner. If you already know common standing poses, use one short sequence to practise how you move between them: slow down, keep the breath steady, and notice where alignment changes as one shape becomes the next.
This is a practice framework, not a prescription. If a transition creates sharp pain, dizziness, numbness or a sense that you cannot control the movement, stop and choose an easier variation or seek appropriate guidance.
Why train the space between poses?
Transitions are easy to rush because they can feel like the part that happens before the “real” pose. But the in-between movement still loads joints, shifts balance and changes where your weight is supported. For this suggested practice, pay attention to where you place your hands and feet before continuing.
For an intermediate practitioner, that creates a useful progression target: instead of chasing a deeper end position, make the route into and out of familiar positions more deliberate.
A suggested short transition practice
Use a non-slip mat and enough space to step safely. Move at a pace that lets you keep track of your feet and breath. This sequence is deliberately simple so the transition itself stays the focus.
- Mountain to Forward Fold: stand tall for two breaths. Exhale as you hinge and fold only as far as you can control. Bend the knees if needed. Stay for one breath.
- Forward Fold to Low Lunge: place the hands on blocks or the floor if comfortable, then step one leg back. Pause before lowering or adjusting the back knee. Notice whether the front foot stayed planted instead of rotating as you stepped.
- Low Lunge to Warrior II: shorten or lengthen the stance before rising. Turn the back foot and open the torso only after your base feels stable. Do not treat the turn as one fast swing.
- Warrior II to Triangle: straighten the front leg without locking it aggressively. Reach forward first, then place the hand on the shin, a block or another comfortable support. Keep the transition smaller if balance becomes uncertain.
- Triangle to Standing: press through both feet, bend the front knee slightly if useful, and rise with control. Step the feet together before repeating the sequence on the other side.
Repeat once per side. The goal is not to increase range. The goal is to make each change in footing, direction and weight transfer obvious enough that you could describe what happened.
Use breath as a pacing tool, not a performance test
A steady breath can help keep the sequence from becoming a race. Use an exhale for folding or stepping when that feels natural, and allow an extra breath before changing direction. Treat that breath pattern as an optional pacing cue, not a rule you must force.
If matching every movement to a particular breath makes you tense or hurried, simplify. Pause, breathe normally, then continue. Smooth control matters more here than forcing a perfect count.
Three ways to progress without making it extreme
1. Reduce unnecessary steps
Once you can place the feet consistently, notice whether you are taking several corrective shuffles after each transition. The next progression is not “never move your feet”; it is to make setup more deliberate so fewer corrections are needed.
2. Slow one difficult transition
Choose the transition that feels least organized and make it slower than the others. A slower tempo gives you time to notice which joint or balance change is causing the rush.
3. Add a prop strategically
A block can reduce the distance to the floor and make a transition easier to control. Ask a qualified instructor which support and position fit the movement you are practising. Using a prop is not a failure of progression; it can be the tool that lets you practise the movement with better control.
Common mistakes to watch for
- Racing to the next named pose: slow down before the feet or hips are organized.
- Copying someone else's depth: use a range you can enter and leave without losing control.
- Holding the breath during the hardest change: add a pause and reset rather than forcing through.
- Ignoring the exit: leaving a pose deserves the same attention as entering it.
- Treating wobbling as failure: balance changes are information. Reduce the range or widen the base when needed.
When to make the sequence easier
Step back to a simpler version when you cannot keep the movement controlled, when the transitions feel abrupt, or when discomfort increases as you repeat them. You might start with familiar positions, practise one connection, and finish with an easier shape. This is a suggested session structure.
If you are new to these poses, use a beginner sequence first rather than treating “intermediate” as a target you have to prove. If you already practise regularly, the progression is quality: fewer rushed corrections, clearer balance changes and a smoother exit.
The US National Center for Complementary and Integrative Health recommends qualified instruction and appropriate adaptations. Yoga can cause sprains and strains; people who are pregnant, older, injured or living with health conditions may need individual guidance.
For related choices, see our one-connection planning guide and yoga props guide.
Turn it into a repeatable practice
Use the same five-pose sequence for several sessions and note one transition that improved and one that still feels rushed. That gives you a concrete progression marker without needing a more difficult pose every week.
For future personalized practice planning, progressions and reminders, join the Sweat & Snack app waitlist. The app experience is where the full movement library and individualized progression logic belong.
Sources and scope
NCCIH: yoga effectiveness and safety supports the advice about qualified instruction, injury risks and adaptations. It does not establish that this particular sequence improves performance or treats a condition. The sequence, pacing and progression options above are editorial suggestions. Source checked 26 October 2026.