Articles are currently available in English.
Yoga
Tree Pose Outdoors: How to Start With Support
By Sweat & Snack · 2026-10-26
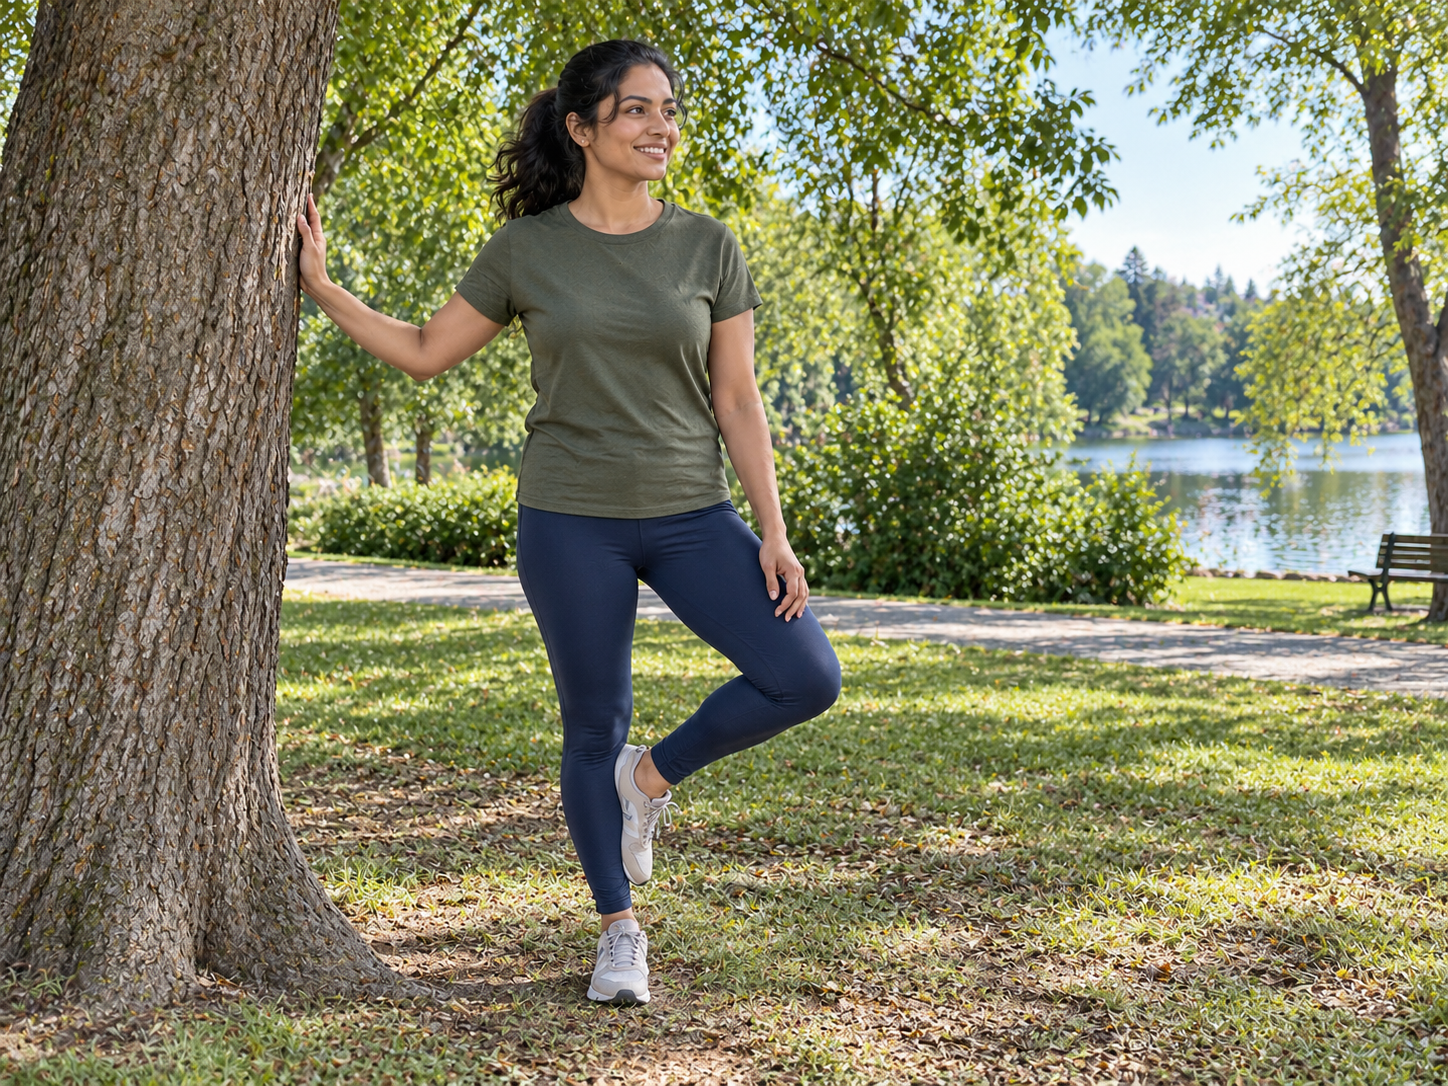
For a first outdoor Tree Pose, pick the ground and support before you lift a foot. A flat, dry patch of firm ground and a stable tree trunk or rail make the setup easier to judge. The photograph shows one possible low-foot version; it is an illustration, not a standard your body has to match.
Tree Pose is a balancing shape, so the useful question is not how high you can place the lifted foot. It is whether you can stand comfortably, breathe normally and return both feet to the ground whenever you choose. If the park surface is uneven, wet or crowded, move to a safer spot or use an indoor wall instead.
Set up your space first
Walk around the spot before beginning. Check for roots, loose stones, holes and slippery leaves. Stand close enough to touch a sturdy support without leaning your full weight into a thin branch or unstable object. Keep enough room that a passing person or dog will not brush you. Comfortable shoes are reasonable outdoors; the goal here is a manageable balance practice, not a footwear rule.
The NHS balance guide describes using a wall for stability and includes a gentle one-leg stand. Its example is not Tree Pose, but it supports the sensible idea of keeping reliable contact nearby while exploring a balance. If you need both hands for support, use both. If a tree is not a trustworthy support, choose a wall or rail instead.
Try a low-foot Tree Pose
One suggested sequence
- Stand tall with both feet on the same level surface, near the support. Let one hand rest lightly on it.
- Shift weight gradually to one leg. Keep a comfortable bend available in the standing knee rather than locking it hard.
- Turn the other knee outward only as far as comfortable and rest that foot low at the standing ankle or calf. You can leave the lifted toes touching the ground.
- Look toward a steady point at eye level. Keep breathing normally. Stay for a few comfortable breaths, then lower the foot and reset.
- Try the other side only if the setup feels steady. It is fine for the two sides to feel different.
Avoid pressing the lifted foot directly into the side of the standing knee. If balancing on one leg feels too demanding today, keep the toes on the ground and explore the upper-body shape only. The foot never needs to reach the inner thigh for this suggested practice to be useful as a way to learn the setup.
When to stop or change the plan
Come out of the pose if you feel pain, dizziness, or a loss of control. Do not use an outdoor balance photo as a substitute for personal instruction. The National Center for Complementary and Integrative Health advises qualified guidance for yoga and notes that existing injuries, balance issues, pregnancy, older age and some health conditions can call for modifications. Ask a qualified instructor or clinician about your own situation where appropriate.
If the pose feels manageable, your next question may be how to connect it to a wider practice. The beginner morning plan suggests an overall structure, while the surface setup guide helps when you move practice indoors. This article supplies one outdoor balance setup, not a complete yoga programme.
Image note: the illustrative photograph and Pin graphic were generated with AI from a user-supplied visual reference.